Forge
Install and configure Forge — the traditional modding platform for Minecraft servers.
Illustrated procedure
Screenshots show the current application with demonstration data. Use your own service details; click an image to inspect it at full size.
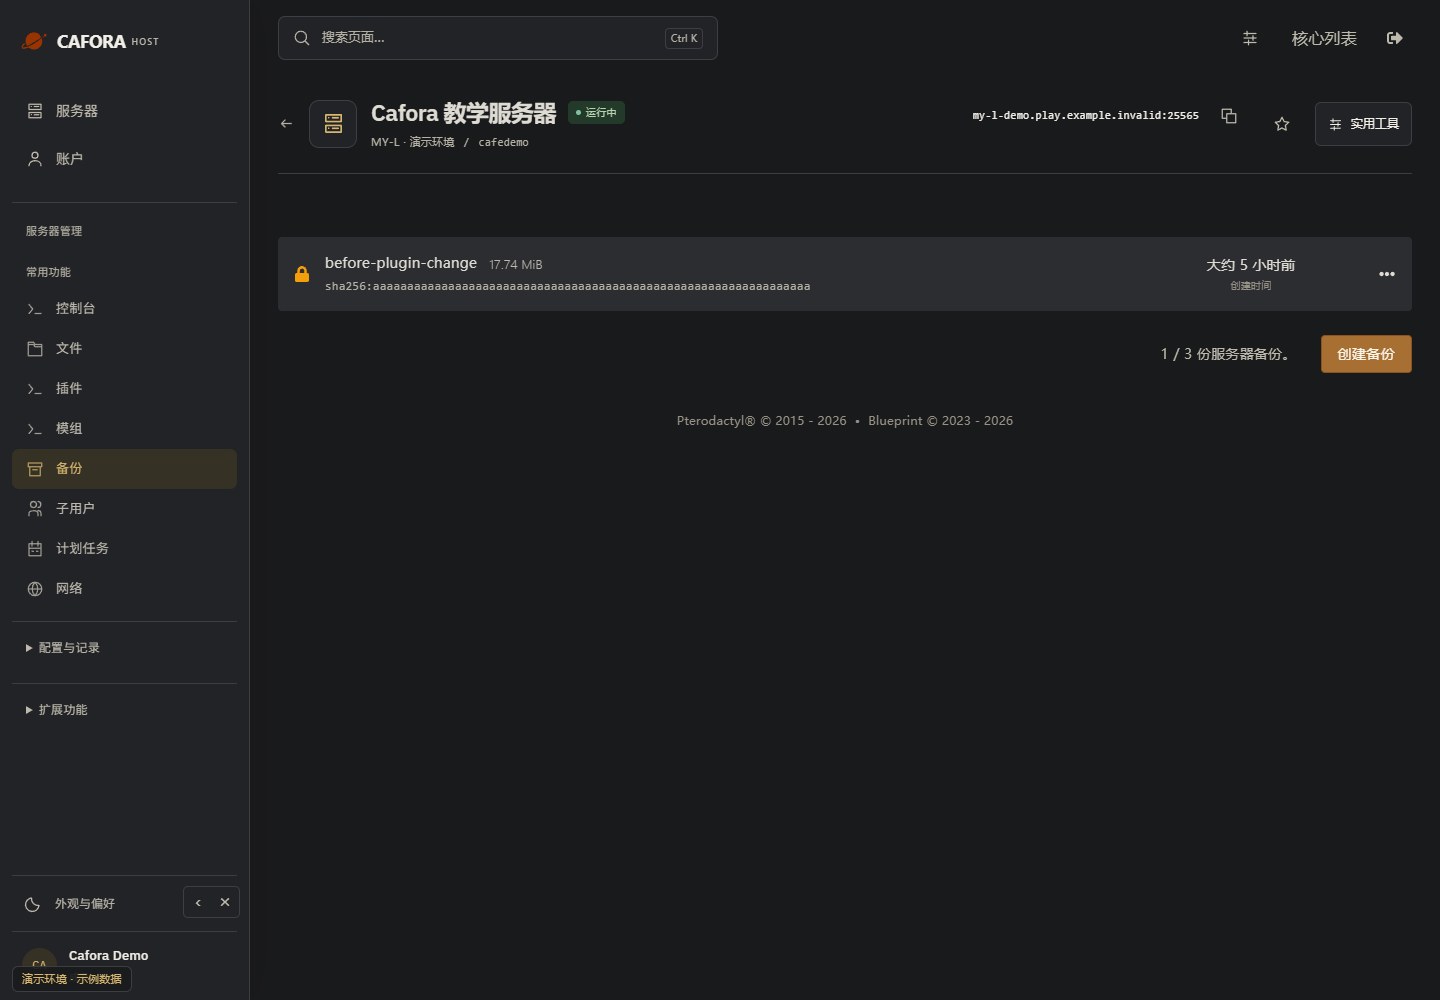
Check the backup allowance and entries
Open Backups and inspect the available allowance, names, dates and completion status. Use the limit of your own service; the example’s allowance is not a plan guarantee.
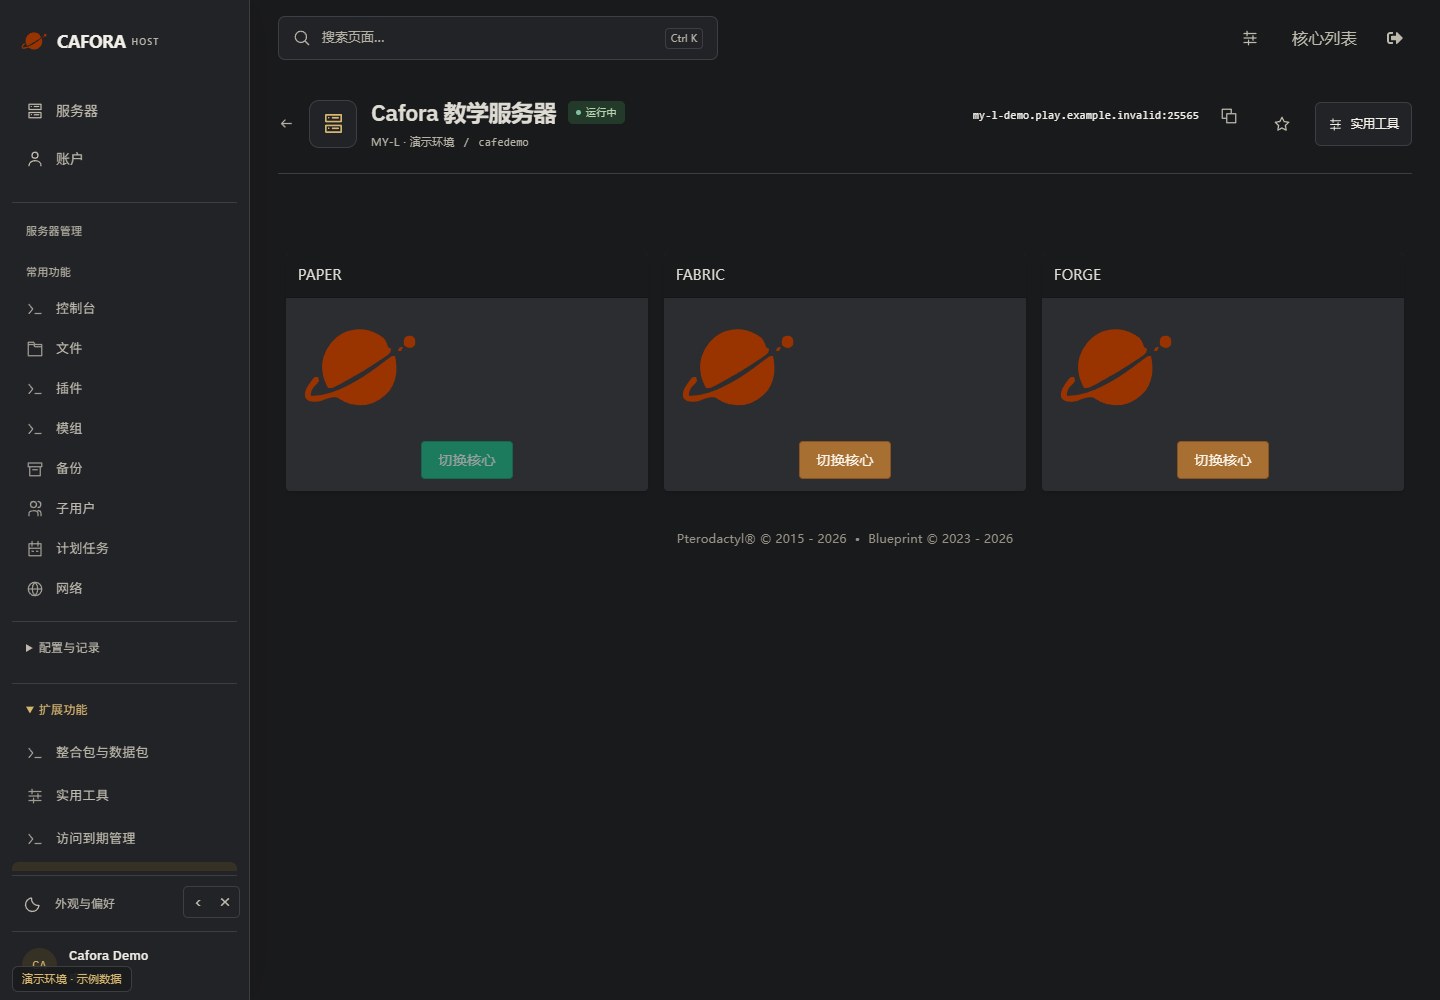
Review core choices before switching
Open Extensions → Egg Changer. Stop and back up before changing a core or reinstalling. Confirm Java, Minecraft, plugins, mods and world compatibility; switching a core is different from installing content.
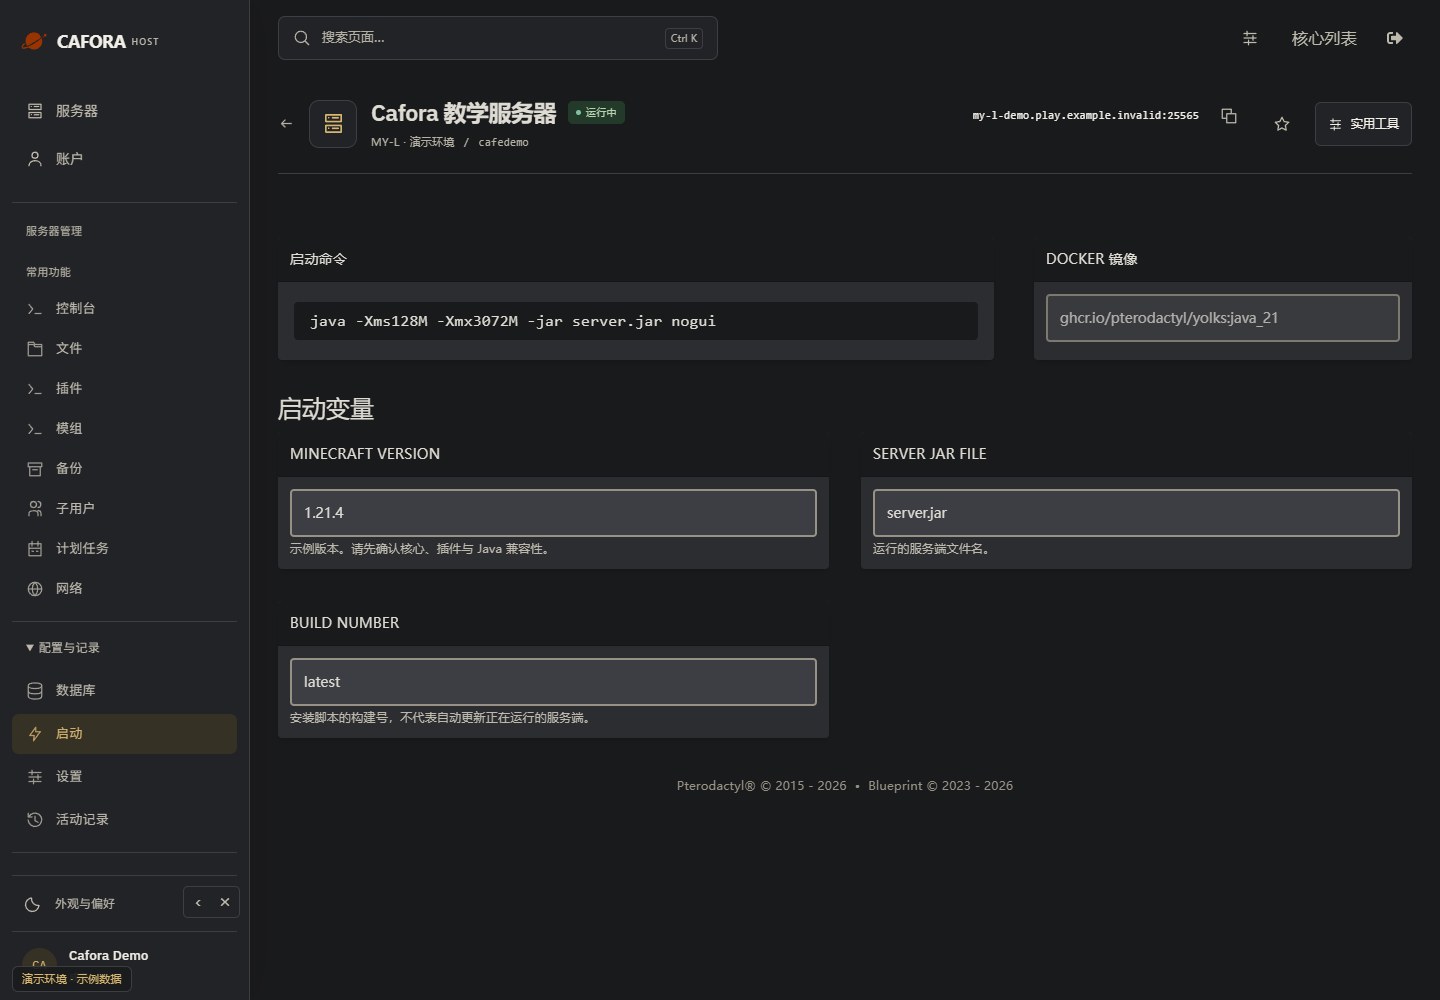
Inspect startup and runtime settings
Open Configuration & activity → Startup. Check the startup command, Docker image and editable variables. These fields depend on the assigned template; they do not add CPU or memory to the plan.
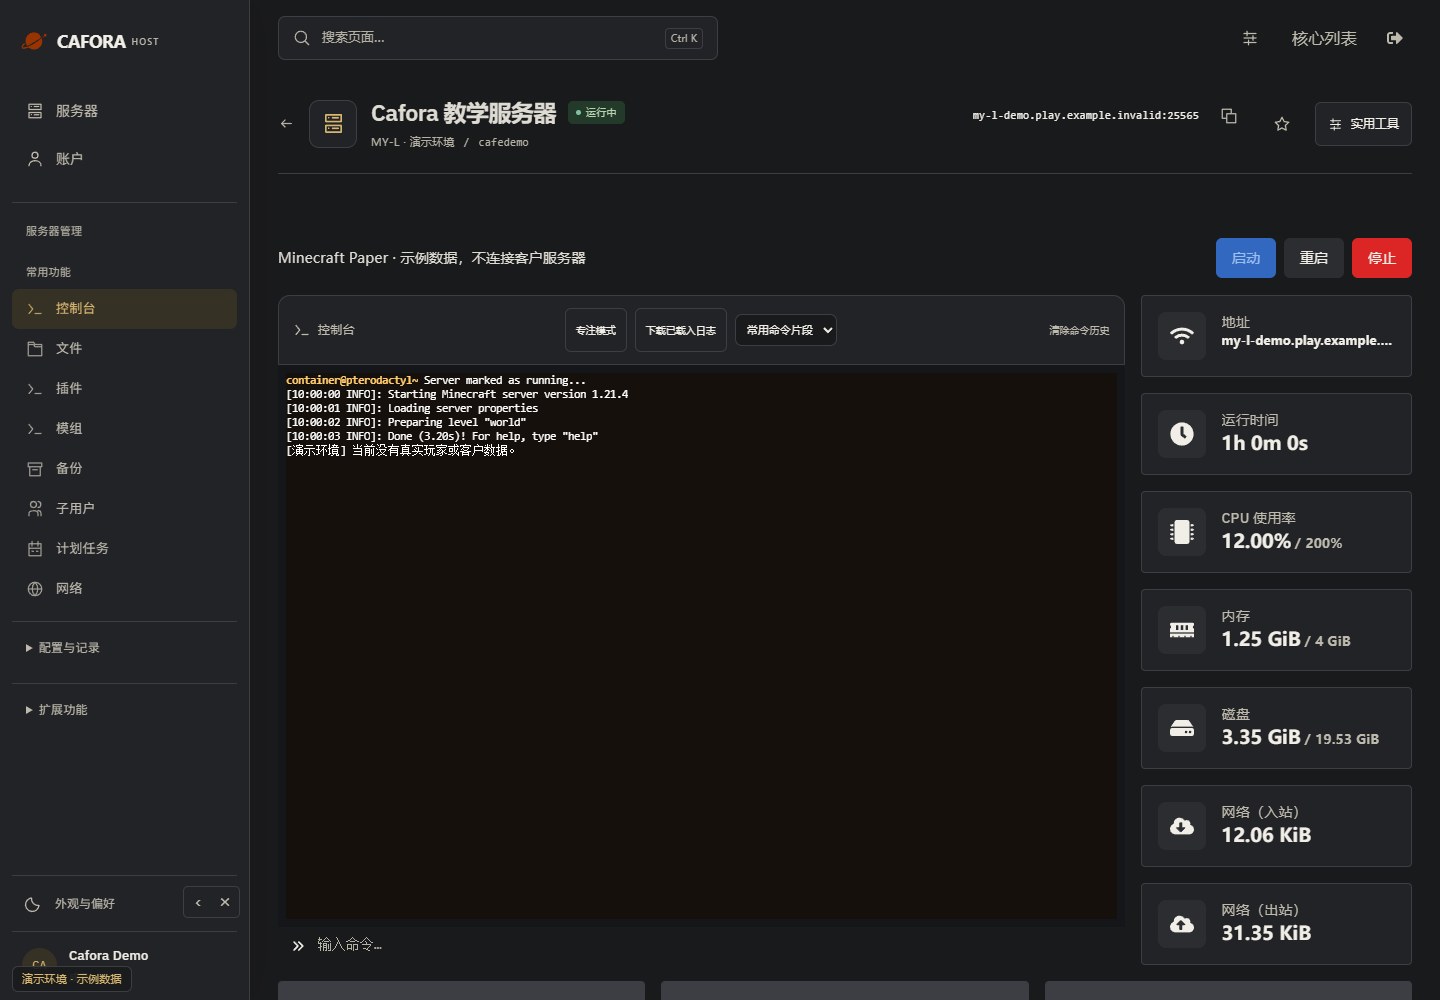
Check the console
Open Essentials → Console. Check the current state, startup output and errors before making changes. Wait for Done or your software’s ready message before joining.
Installing Forge
Stop the server and download a backup before a software change.
Open the top-level 核心切换 / Core Switch tab and find the required software card.
Review its installation prompts, file preservation and supported Java/Minecraft versions before confirming. Ask support if the required version is unavailable.
Check the resulting Startup settings, start the server and inspect the log. Only then add compatible plugins or mods where applicable.
Forge servers typically use more RAM than Paper or Fabric. Ensure your plan has sufficient memory for your mod loadout.